
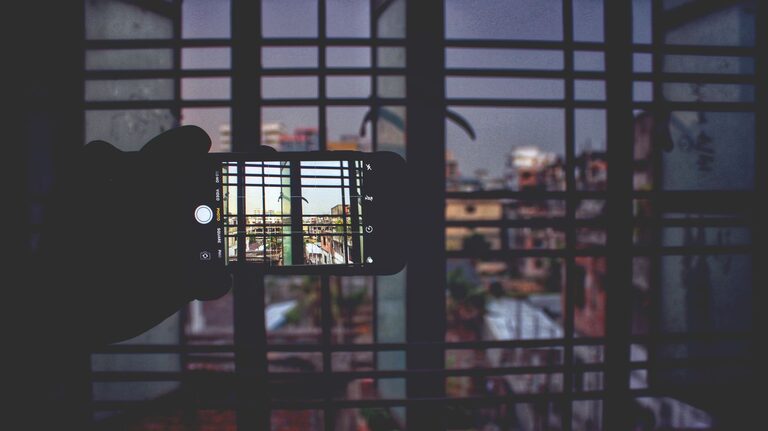
Taking better phone photos does not require expensive equipment or advanced skills. A few simple habits can make a noticeable difference, whether you are photographing people, food, travel scenes, pets, or everyday moments.
Modern phones can produce sharp, colorful images, but the camera still depends on how you use it. By paying attention to light, composition, focus, and timing, you can create photos that look more balanced and intentional.
Start With a Clean Camera Lens
Before taking a photo, quickly wipe your phone’s camera lens with a soft cloth or a clean part of your shirt. Fingerprints, dust, and smudges can make images look hazy, reduce contrast, and create unwanted bright spots around lights.
This is an easy step to overlook because the lens is often covered while your phone is in a pocket or bag. Make it a habit, especially before taking important photos.
Pay Attention to Light
Light is one of the most important parts of photography. You do not need professional lighting, but you should notice where the light is coming from and how it affects your subject.
Use Soft, Natural Light
Soft daylight often produces the most pleasing results. Try taking photos near a window, in open shade, or outdoors during the morning or late afternoon. These conditions can create gentle shadows and natural-looking colors.
Harsh midday sunlight can create strong shadows on faces and bright, washed-out areas in the image. If you are taking a portrait outdoors, move your subject into the shade or turn them slightly away from direct sunlight.
Avoid Bright Light Behind Your Subject
When a bright window or the sun is directly behind your subject, the subject may appear dark. Turn around, change your angle, or ask the subject to face the light. If you want to keep the bright background, tap on the subject’s face or main detail on the screen to help the phone adjust its exposure.
Be Careful With Flash
The built-in flash can be helpful in very dark settings, but it may create flat lighting and harsh shadows. When possible, try using nearby lamps, window light, or brighter surroundings instead. If you must use flash, take a few versions and compare the results.
Keep Your Composition Simple
Composition means how the different parts of a photo are arranged. A simple composition usually makes the subject easier to notice.
Before pressing the shutter button, look around the edges of the frame. Remove distracting objects, move closer, or change your position to create a cleaner image.
Try the Rule of Thirds
Many phone camera apps offer grid lines in the settings. These lines divide the screen into nine sections. Placing your main subject near one of the grid intersections can create a balanced photo.
For example, when photographing a person looking toward the side, place them slightly off-center with extra space in front of their gaze. When photographing a landscape, place the horizon near the upper or lower third instead of directly in the middle.
The rule of thirds is a useful starting point, but it is not a strict rule. Centered compositions can also work well when the subject is symmetrical or especially strong.
Look for Leading Lines
Lines can guide the viewer’s eyes through a photo. Roads, fences, paths, railings, buildings, and shadows can all create leading lines.
Try changing your position so that a line points toward the main subject. This can add depth and make an ordinary scene more interesting.
Leave Some Breathing Room
Avoid placing the subject so close to the edge that the photo feels cramped. Leave a little space around people, animals, and moving objects. This makes the image feel more natural and gives the viewer’s eyes room to move.
Tap to Focus
Phone cameras usually choose what to focus on automatically, but they may not always select the part of the scene you want. Tap the screen on the main subject before taking the photo.
This is especially helpful when photographing:
– A person in front of a busy background
– A small object close to the camera
– Food on a table
– A flower or pet
– A subject in a dim setting
After tapping, some phones allow you to adjust brightness by sliding a control up or down. If the image looks too bright, lower the exposure slightly. If the subject is too dark, raise it.
Hold Your Phone Steady
Even a good camera can produce a blurry image if the phone moves while the photo is being taken. Hold your phone with both hands and keep your elbows close to your body.
You can also steady yourself by leaning against a wall, resting your phone on a table, or using a stable surface. In low light, keeping the phone still becomes even more important because the camera may use a longer exposure.
If your phone has a timer, use it when taking group photos or photos in low light. This gives you time to position the phone and avoid shaking it when you press the shutter button.
Move Instead of Always Zooming
Digital zoom can reduce image quality by enlarging part of the photo. When possible, move closer to your subject instead of pinching the screen to zoom.
If your phone has multiple camera lenses, such as a wide lens or telephoto lens, use the option that best fits the scene. Still, check the final image for sharpness, especially in low light.
Moving your body can also improve composition. Take a few steps to the side, lower the camera, raise it slightly, or try a different distance. Small changes in position can make the background cleaner and the subject more prominent.
Take Several Photos
Do not rely on a single shot. Take a few photos while your subject changes position or expression. This is useful for portraits, pets, children, moving subjects, and group pictures.
Afterward, review the images and keep the sharpest and most natural-looking version. Taking multiple photos gives you more choices without requiring special skills.
Explore Different Angles
Most phone photos are taken from standing eye level. While that angle is convenient, it can also make your images look similar.
Try photographing from:
– A lower angle to make a subject appear more prominent
– A higher angle to show patterns or details
– A side angle to add depth
– A close angle to highlight texture
– A distant angle to show the surroundings
Changing your viewpoint can turn a familiar subject into a more engaging photo.
Use Portrait Mode Carefully
Portrait mode can create a soft background and help separate the subject from the surroundings. It often works best when the subject is several feet away from the background and there is plenty of light.
Check the edges of the subject after taking the photo. Hair, glasses, leaves, and other fine details can sometimes look unusual when the phone creates the background blur. If the effect looks unnatural, try taking the same photo in the standard camera mode.
Edit With a Light Touch
Simple editing can improve a photo, but heavy adjustments may make it look unnatural. Start with small changes to brightness, contrast, color, and cropping.
Useful edits include:
– Cropping out distracting edges
– Straightening a tilted horizon
– Slightly increasing brightness
– Adjusting contrast for a clearer image
– Reducing highlights in very bright areas
– Adding a small amount of color or warmth
Try to keep skin tones, skies, and other familiar colors looking natural. If an edit immediately stands out, reduce its intensity.
Practice With Everyday Subjects
You do not need to wait for a special event to improve. Practice with objects and scenes around you. Photograph a cup of coffee, a plant, a window, a pet, or a street corner at different times of day.
After each photo, ask yourself:
– What is the main subject?
– Is the subject easy to see?
– Where is the light coming from?
– Is anything distracting in the background?
– Would a different angle improve the image?
With regular practice, these questions become automatic. The best way to take better phone photos is to stay curious, try small changes, and review what works. Your phone already has the tools you need; thoughtful choices are what make the biggest difference.